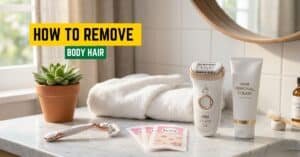
For a long time, sugar has been used in place of wax. Some believe it was the main hair removal method used by the ancient Egyptians. Sugar is more moisturizing than regular wax but less painful and irritating, especially for those with sensitive skin (or ingrown hairs). However, proper sugaring tools are necessary to get smooth and hairless skin. So what’s next? Here’s how.
Sugaring has one significant benefit over other hair removal methods—anyone can learn how to do it. It is not only very accessible but also easy to pick up as a skill. Happily, during my sugaring experience, I’ve compiled a list of 15 sugaring tools.
That is necessary if you want to perfect your hair removal process. I’ll discuss everything, from mixing bowls to application sticks, so it’s easy to get silky, soft skin. Are you ready to learn how to sweeten perfectly? Let’s get started!
What Are Sugaring Tools For Face?
Sugaring is a traditional method of hair removal used for many years. Sugaring tools for the face make this process better and easier. This technique comes from the Middle East. It removes facial hair with the help of a paste made of sugar and natural ingredients. However, having the right tools for sugaring your face is important if you want accurate results done efficiently.
Here are some common sugaring implements used on faces:
- Application sticks—These can be wooden or plastic. They spread an even layer of sugar paste all over your skin.
- Fabric strips—Muslin or similar fabrics—are placed on the sugar paste and then quickly pulled off to remove hairs.
- Flexible spatulas designed for sugaring—Such tools allow the quick application and removal of sugar paste, especially when dealing with smaller areas on the face.
- Powder applicators—Dust skin with talcum/cornstarch powder before sugaring to remove any extra moisture.
- Cleaning wipes—Prepare skin for sugaring as well as cleanse it afterward.
It is important to follow proper procedures and maintain good hygiene when using sugar instruments on the face to remove hair safely and effectively.
Sugaring Tools for Different Body Areas: Change Your Technique
The art of sugaring doesn’t have a one-size-fits-all recipe. To get the best results and make hair removal as painless as possible, an individual approach and different tools for each body area are essential.
Fewer ingrown hairs and smoother skin are just a little practice and appropriate sugaring instruments away.
If you are working on larger areas such as your legs or arms, choose a bigger applicator or spatula—this will help you cover more surface area in less time.
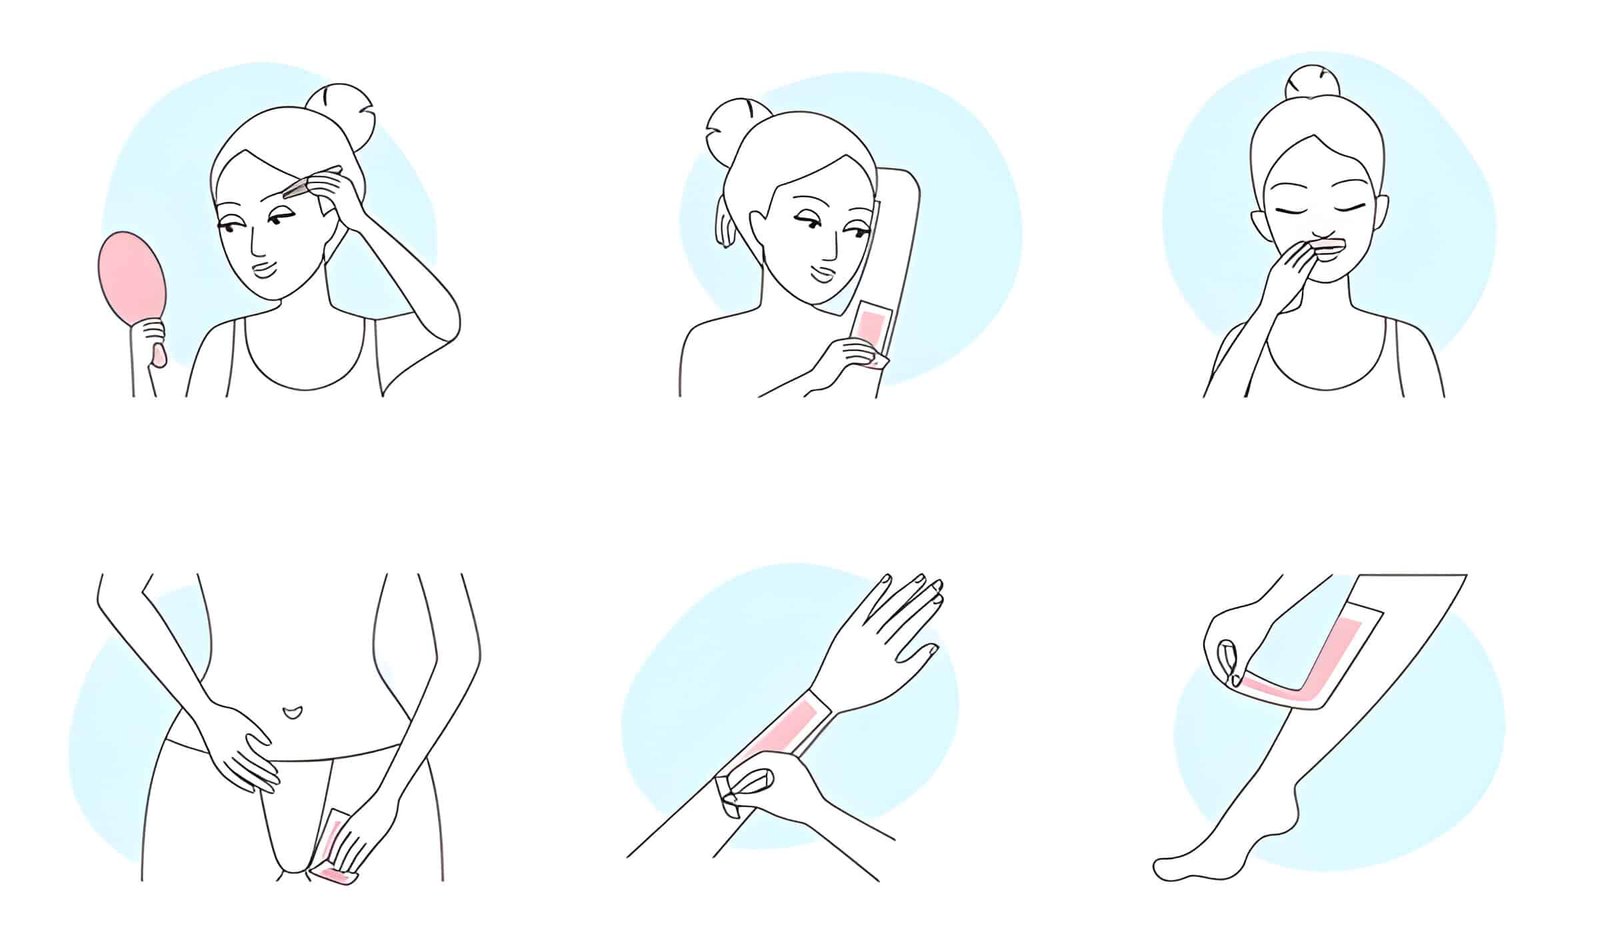
On the other hand, if you’re dealing with smaller parts like eyebrows and upper lips that require precision shaving, it’s better to use smaller tools.
Extra care needs to be taken when dealing with Brazilian areas and underarms. Use flexible applicators to accommodate the body’s shape while covering all parts in these delicate zones.
Consider using specialized sugaring vs waxing strips or cloths, which enhance grip, especially in hard-to-reach places with coarse hair.
You can do sugaring anywhere you want, including armpits and arms but watch out, it may be painful.
What Are Sugaring Tools Made Of?
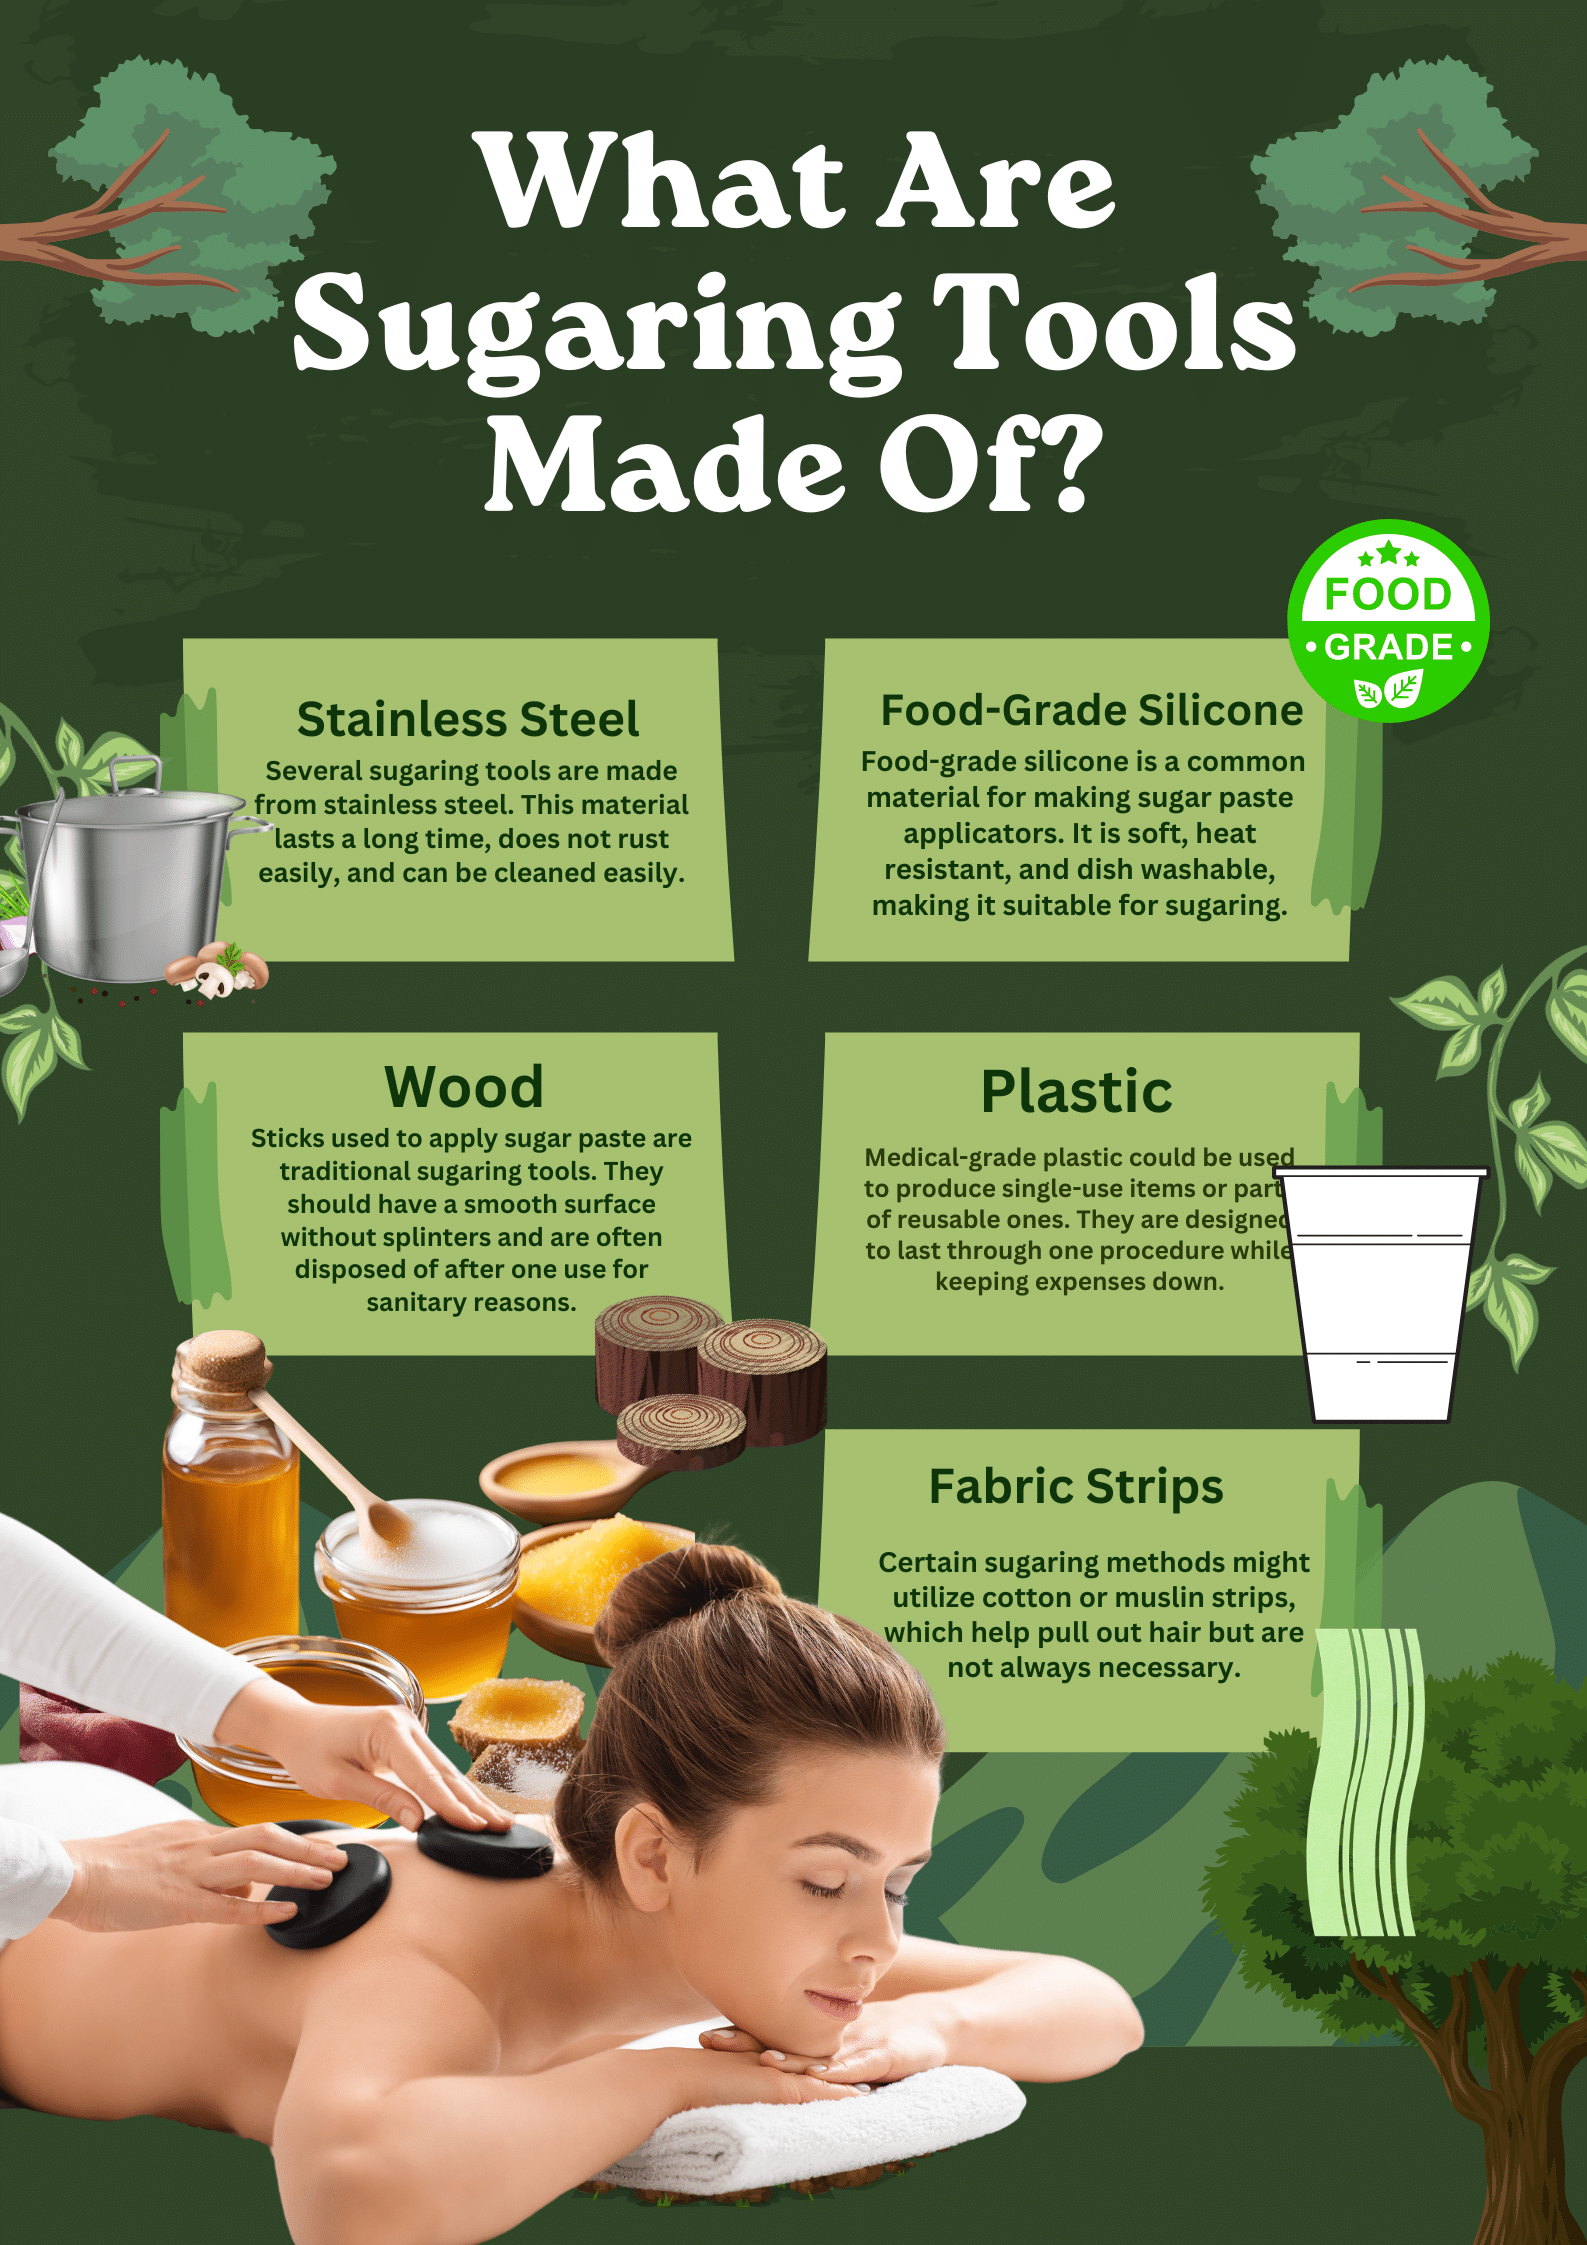
Specific instruments are required for full-body sugaring, a widely used hair removal method. These tools are made from materials that can last long and be sanitary enough to remove hair with sugar paste securely.
The essential components of sugaring tools mainly include:
- Stainless Steel: Several sugaring tools are made from stainless steel. This material lasts a long time, does not rust easily, and can be cleaned easily.
- Food-Grade Silicone: Food-grade silicone is a common material for making sugar paste applicators. It is soft, heat resistant, and dish washable, making it suitable for sugaring.
- Wood: Sticks used to apply sugar paste are traditional sugaring tools. They should have a smooth surface without splinters and are often disposed of after one use for sanitary reasons.
- Plastic: Medical-grade plastic could be used to produce single-use items or parts of reusable ones. They are designed to last through one procedure while keeping expenses down.
- Fabric Strips: Certain sugaring methods might utilize cotton or muslin strips, which help pull out hair but are not always necessary.
Choosing materials that don’t stick to the sugar paste is important if you don’t want yourself or the client to feel uncomfortable during treatment. This will keep things clean and stop the sugar paste from making a mess.
Why Is Sugaring Called Maple Sugaring?
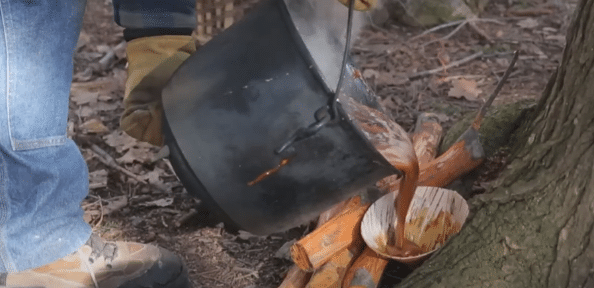
Sugar or maple sugar production from maple syrup and maple tree sap is called sugaring or maple sugaring. However, these terms mainly refer to the last product of boiling down sap, which contains more sugar (1-2%).
Early Americans rarely tapped maple trees for their syrupy taste. Converting maple juice into a sweetener requires more steps than just making syrup. Maple syrup could not be stored for long because it would spoil during cold winter months and warm summers, making it useless in the 1800s.
On the other hand, maple sugar can last at least a year on shelves. It was also less sweet than maple, so it served better as an adaptable sweetener. Women tried to eliminate as much molasses — dark brown liquid — as possible to make it resemble white store-sold sugars more.
The History Of Maple Sugaring
Since Europeans arrived, maple sugar history has become integral to American culture. Native American legends describe the discovery of maple sugar. They say that Woksis, an Iroquois chief, played a pivotal role in this discovery. He found the delicious juice by throwing his tomahawk at a maple tree in winter.

As soon as the sun heated it again the next day, the sap began to flow out of the tree. Having realized its delicious taste, Indigenous people began cooking meat in sap, a technique taught to them by Woksis’s wife.

Native belief says another thing can be obtained from a maple tree during winter—’ popsicles.’ When a twig snaps off, it releases the tree’s sap, which freezes around its core, creating an icicle. These ‘popsicles’ might have been discovered on a maple tree.

Some documents dating back to 1609 describe how local people produced maple sugar from sap. Today, Maple Sugar bottles are on store shelves across America, demonstrating its impact on U.S. history.
How Did the Native Americans Make Their Maple Sugaring Tools?
To make innovative and versatile maple sugaring tools, the Native Americans used what they found in nature. Birch bark receptacles, wooden spiels, and stone or wooden pots for heating water were among their most commonly used items.
The tap was a traditional tool of maple sugaring that is believed to have been made from elderberry or sumac branches. Native Americans cut holes in these branches to make a spout where they could collect sap. Some of them tools include:
- 5/16″ hole-cutting drill bit
- 5/16″ hole-cutting drill bit
- 31/64″ hole-cutting drill bit
- 3/8″ hole-cutting drill bit
- Wire Sleeve Crimping Tool
- Aluminum bottles/jars
They also used pine pitch to fold and seal birch bark containers and keep the sap safe.
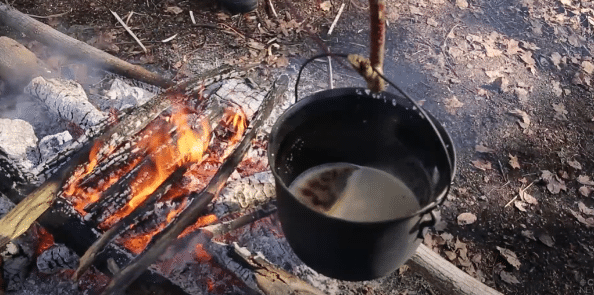
Sap was boiled in large pots made of wood or bark. To dry the water and concentrate the syrup, heated stones were placed in these vessels. Iron kettles, often associated with old-fashioned maple sugaring tools, did not exist during this process.
The idea of sap collection lines may not be new, but plastic tube systems are used in modern maple sugaring. In ancient times, hollowed-out logs or bark troughs brought the sap from many trees to one place.
These ancient methods and tools for making maple sugar show Native American ingenuity and mastery over their environment. They developed methods that worked well over time while being mindful of sustainability. So that later generations could produce maple syrup, too.
How Does Maple Tree Sugaring Remove Hair?
Maple tree sugaring has gained popularity as a natural hair removal method because of its gentleness and effectiveness. Instead of wax, this technique uses a paste made of natural ingredients, namely maple syrup. The procedure sticks to the hair follicles rather than the epidermis, which leads to less skin irritation and pain.
The paste should be applied against your hair’s growth direction and then removed quickly in one swift movement along that same path. It’s as simple as that! If you mix maple syrup with other substances, such as water or lemon juice—you will get a sticky substance that sticks to even the shortest hairs.
Must-have Sugaring Tool Essentials
You will need certain supplies to get smooth, hair-free skin through sugaring. I personally use these tools. I hope this helps you too. Below is a list of 15 necessary tools for more effective sugaring:
-
Base of the Recipe: Sweetener Paste
Sugar paste acts as a foundation for sugaring, similar to cake batter. It comes in different consistencies to suit various types and textures of hair.
You must choose the right paste for that to happen smoothly and painlessly. Some people find softer pastes work better on fine hairs, while firmer ones are more appropriate for thicker ones.
-
Dispenser Spatula
Think about an applicator spatula as a paintbrush in your mind’s eye. With it, you can cover every hair with sugar paste in an even layer.
Keeping your hand still lets you achieve consistently perfect finishes every time.
Look for spatulas with ergonomic handles so they won’t cramp up your hands or give you less control over them.
-
Material Swatches
Fabric strips are long-time friends of traditional sugaring. They hold the sugar paste and hair nicely, making removing easy and lemon squeezy.
It’s much more satisfying than taking off a Band-Aid. But if you want something reusable and eco-friendly, then go for cotton strips. They don’t cost much and won’t hurt Mother Earth either.
-
Heat Pan Source
A saucepan is perfect for heating sugar paste since it melts quickly anyway—just like when someone wraps their arms around us tightly enough!
This way, everything stays in service and doesn’t get too thick or thin owing to variable heating levels.
-
Tweezers Make Precision Easy (And Touch-ups Too)
If you want pinprick accuracy while sugaring anything, you’ll need tweezers. These help remove any stray hairs that sugar pastes alone cannot reach.
So, it’s the final touch for a flawless outcome. Should it work with fine or short hair? Then use slanted tips, which give a better grip and enable more exactness.
-
Powder: Drying Moisture to Make It Stick
In sugaring, the powder is like an unsung hero: It absorbs wetness, so your hair sticks well to the sugar paste.
Just as one would prepare their canvas before painting on it! You can use either cornstarch or baby powder for this.
Both are popular choices because they help sugar pastes stick to hair better.
-
Maple Sugaring Tubing Tools
Only those who are very skilled in sugaring should try these tools. They allow for more delicate techniques and add professionalism to one’s home sugaring kit.
With the right tubing gear, making your own sugar paste at home can be cheaper and provide greater control over quality.
-
Antique Maple Sugaring Tools: Sweet Maple
When you see vintage maple sugaring equipment, it’s almost like stepping back in time.
Including them in your routine will bring back memories of yesteryears and connect you closer to sugaring’s rich heritage.
Using or collecting such tools can also serve as a lovely hobby that combines aesthetics with traditionality.
-
Sugars Tool Test Method
You can consider the test of sugars tool as a test of quality. Imagine a cook trying sauce by tasting it before serving to see if the sugar paste has the right consistency and quality.
If you want better results, try changing the temperature or thickness of the paste in one place first.
-
Sugaring Preparatory Heater
A sugaring warmer is like a warm blanket in the winter. It keeps your paste at just the right temperature.
Moreover, the machine has two wax warmers, two boilers, and temperature controls for perfect consistency. Maintaining an even heat during application speeds up and cleans the product.
-
Exfoliating Glove
Prepare for sugaring with an exfoliating glove. This glove preps your skin by getting rid of dead cells—it’s like going into a performance.
Exfoliate your scalp regularly to avoid ingrown hairs and help sugar paste stick better to hair.
-
Nose and Eyebrow Sugaring Scissors
Eyebrow scissors are used to sugar more prolonged hairs more easily. It’s as simple as sharpening a pencil before writing.
However, this step can make all the difference. Use precision scissors for better sugaring eyebrows and facial hair grooming.
-
Modern Sugaring Kits
Nowadays, sugaring kits are more like mini-tool closets. You get all the necessary components in one convenient bundle, which makes everything easier.
Many kits come with instructions and guides that help newbies learn how to sugar properly.
-
Professional Sugaring Tools
With professional sugaring tools at home, anyone can turn their place into a fancy spa. A sugaring machine, sugaring cart, adjustable treatment bed, and magnifying lamp add some professionalism.
Those who use them often know that buying such items improves comfort and productivity while working with them.
-
Reflector With Magnifying Properties
A magnifying mirror is an essential tool for accurate work. You need it to see small details precisely without missing anything out of sight. It’s like taking pictures with a macro lens for perfect results every time.
Besides, built-in lights in such mirrors may make the process even easier and more successful.
Note: If you get these essential tools, you’ll be ready to get professional-level results when you sugar in your hair. Also, you need a timer and storage containers: pre-sugaring and after-sugaring products for flawless results. Enjoy easy, smooth skin without hair!
DIY Sugaring Tools for At-home Use
Are you tired of spending a lot to cut your hair in the salon? With these homemade sugaring tools, you can have smooth skin without leaving your home. You need only some basic items.
Ingredients for Recipe Sugaring
- 30 g sugar
- Two tablespoons (fresh or bottled) lemon or lime juice
- Natural or store-bought aloe vera gel
- 1/4 cup water
- One teaspoon of cornstarch, baking soda, talc, or baby powder
Sugaring at Home Tools
- Small saucepan
- Heat-safe spatula that won’t stick (or whisk/wooden spoon)
- Small heat-safe bowl
- Small metal spoon
- Optionally, parchment paper or greased baking sheet.
- Cotton cloth strips (or waxing strips).
However, creating your own sugar paste helps you to control the ingredients and customize the formula to suit your skin’s needs. After some practice, you’ll become a pro sugarier and be able to get results worthy of a salon from home.
Sugar & Wax Haven Tips
According to our esthetician, brown sugar makes it hard to see when the color changes and the paste sets too quickly—white sugar works best instead.
Cost Comparison: Professional vs. At-Home Sugaring Tools
Before choosing a professional treatment, comparing the cost of sugaring hair removal with at-home alternatives is essential. Although the equipment used in professional salons is usually of high quality and durability, it can be costly for salon owners. Treatments range from $30-$100 per session, so clients may be shocked at how quickly frequent visits add up.
On the other hand, DIY sugaring costs are significantly lower in the long run. Starting kits and ingredients for making your own sugar paste and other instruments for at-home use. It can range anywhere between $20 and $50. Even with this attractive initial investment, things are worth considering, such as a learning curve.
However, it’s essential to consider factors beyond just price. Remember that you must still put in the work and time to become skilled with this method. For some people, professional treatments cost more but provide stability and reliability, which makes them worth every penny.
Maintaining Your Sugaring Tools
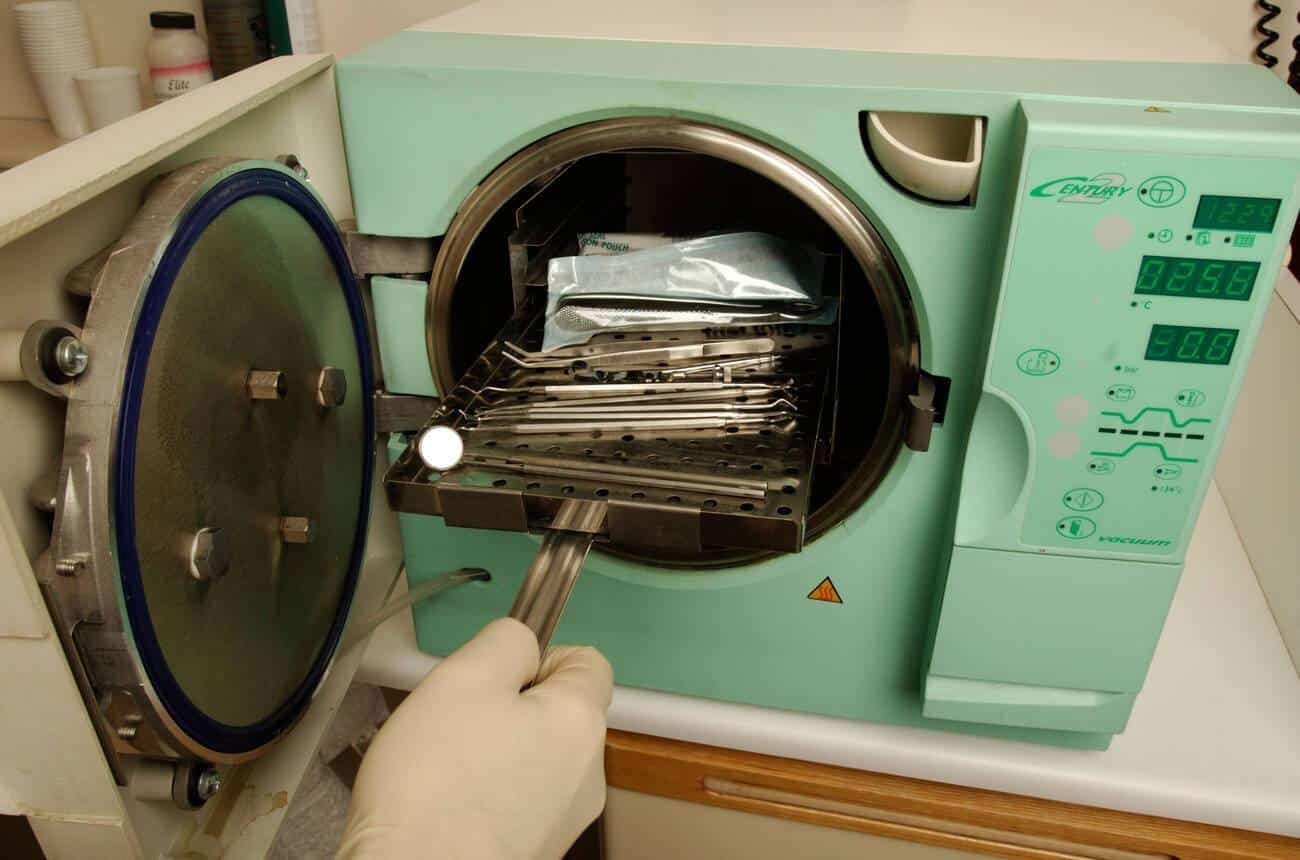
Proper care of your sugaring tools will make them long-lasting and efficient. You must clean everything regularly to keep it sterile. Remember to wash your utensils with warm water and gentle soap after every use of sugar left behind. Also, you may want to boil or soak metal tools in a sterilizing solution to ensure they’re clean.
Storage is also essential. Keep your things in an arid area, far away from water content, so they won’t corrode. Food-grade mineral oil should be applied frequently to wooden tools.
Otherwise, they will become brittle and break easily when dried out. Store sugar paste in airtight containers only–this will prevent contamination, and always keep it at the right consistency.
Never ignore any signs of wear and tear on your devices. Replace worn-out materials if you want better results during sugaring sessions.
Note: If you’re struggling with the wrist-flicking method—you can use paper or fabric wax strips and treat the sugar like wax paste.
Common Mistakes to Avoid When Using Sugaring Tools
Even the most experienced sugars in the sugaring world can still fall into some common traps. Here I’ll share common mistakes:
- Using unclean equipment: Always sanitize your sugaring equipment before and after use to prevent bacterial infections.
- Incorrect temperature of sugar paste: It may burn if too hot or fail to stick if too cold. Start with a patch test on your wrist.
- Incorrect application method: Apply against hair growth and remove with hair growth for better results.
- Failure to exfoliate first: Ingrown hairs and patchy results may occur when dead skin cells are not removed.
- Take shortcuts: Ensure every hair is removed, but do it slowly to minimize skin irritation.
- Reusing sugar paste: It risks bacterial contamination, reducing its effectiveness. Always have fresh paste for each area.
- Neglecting the skin after treatment: Failure to moisturize and soothe the skin after treatment. It may result in redness, inflammation, and pimples.
- Using improper tools: To get optimum results and keep hygiene at high standards. Use professional-grade sugaring spatulas & gloves only when performing this procedure.
If you want consistently great results, never stop working on your technique or following what’s new in this field.
Final Thoughts
To have the best sugaring experience and effectively remove hair painlessly at home, you will need good tools. Each item is essential for perfecting your sugaring skills — from basic ones like sugar paste and applicator sticks to advanced equipment, such as exfoliating gloves or aftercare products.
With these 15 must-have tools in your arsenal, no hair removal challenge will scare you away. If you don’t succeed at first, try again!
Don’t worry about failure because practice makes perfect, especially in this case. After learning how to do it right, my skin stays soft like velvet for days.
Does this sound like something worth trying out? Come down to Sugar & Wax Haven today for top-of-the-line hair-removing gear and service.
Frequently Asked Question
What are the essential sugaring tools for beginners?
To begin with, you need a sugaring kit that contains paste, sticks, powder, gloves, and cleaning wipes. These basic things can help you begin sugaring at home.
How do I choose the right sugar paste consistency?
The right consistency of sugar paste depends on factors such as ambient temperature, hair texture, and individual preference. If it is too hot outside, use a soft paste. But if it’s cold outside, go for a stiffer one.
What’s the difference between sugaring strips and regular waxing strips?
Sugaring strips have a different design than traditional waxing strips. Because they are made from a more flexible material that absorbs better into the sugar paste. Also, they can be washed and reused, which makes them cheaper and greener for the environment.
How often should I buy new sugar tools?
Replace disposable items like gloves or applicator sticks after each use. Reusable materials such as fabric strips or metal applicators that become worn or damaged also need replacing. So, keep an eye on those tools by checking them regularly!
Why is this important to use before and after sugaring products?
Before and after sugar treatment are essential in removing hair. They soothe the skin with lotion, reduce irritation, and slow hair growth. Pre-sugaring cleansers and powders can be used to prepare the skin for paste adhesion.